Lot and Serial Number History Report is used to view a history of lot and/or serial items sold and invoiced, detailed by lot and/or serial number. If a lot or serial number valuation method is used for inventory items, you can print this report quarterly, annually, or as necessary to satisfy auditing requirements. This report is available only if the Inventory Management module is integrated with Sales Order, and Lot Items, Serial Items, or Both Lot & Serial Items is selected in the Retain Lot/Serial Item Sales History field in Sales Order Options.
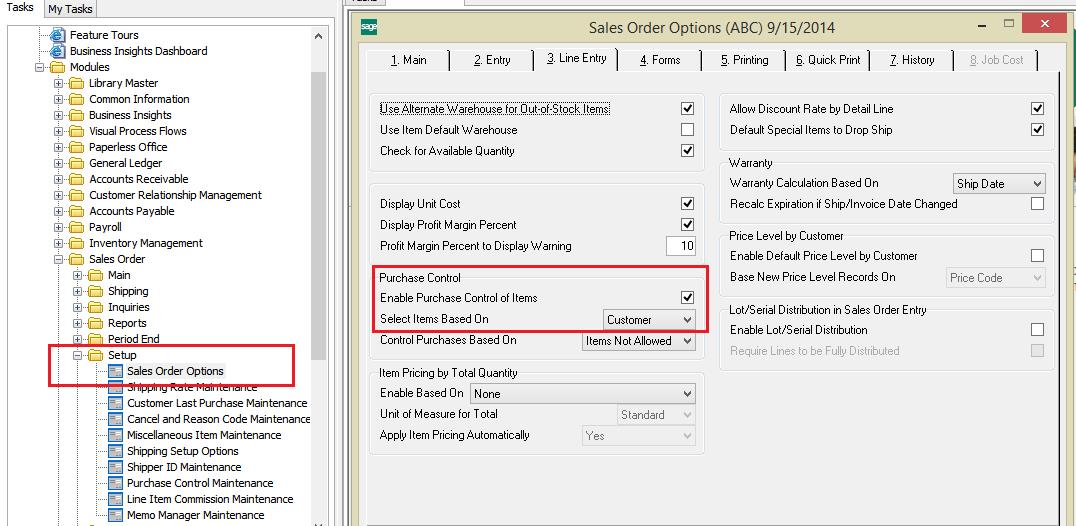
New Stuff : Sage 100 – Purchase Control Maintenance
Navigation
To navigate to the Report page, Select Sales Order Reports menu and process Lot and Serial Number History Report.

Overview
This report can show sales history for only lot items, only serial items, or items of both types, depending on the selection in the Retain Lot/Serial Sales History field in Sales Order Options. The report can be sorted by item code, customer number, bill-to name, bill-to customer number, or lot/serial number. You can enter a selection of item codes, customer numbers, bill-to names, invoice numbers, invoice dates, lot numbers, serial numbers, bill-to customer numbers, and user-defined fields (UDFs) to print on the report.
Note: The bill-to name prints on the report only if Bill-To-Name is selected in the Sort Report By field. The bill-To-customer sort option and selection are available only if the Enable Bill-To-Customer Reporting check box is selected in Accounts Receivable Options. The bill-to customer number prints on the report only if Bill-To-Customer Number is selected in the Sort Report By field.
Information detailed on the report includes the item code and description, lot or serial number, customer number and name, invoice number and date, unit of measure, and quantity sold. When the report is sorted by lot/serial number, the customer name is not printed.
Field Description
Let see the details of the field options that the page provides the user to interact efficiently.
Report Setting: Enter a report setting, or click the Look-up button to list all report settings. The Standard report setting provides a set of default options, sort criteria, and selection criteria for each report.
Description: This field displays the description for the selected report setting. Enter a description that describes the output of the report. The description can be up to 40 characters.
Type: This field displays the type of access assigned to the report setting. A Public report setting allows access to all users. This includes the ability to access, modify, save, print, and delete the report setting; however, the Standard report setting cannot be deleted. This field can only be viewed.
Default Report: Select this check box to set the current report setting as the default report setting. The default report setting is the first report setting displayed when the report is accessed. Clear this check box if you do not want this report setting to be the default.
When a default report setting is not selected, the Report Setting field displays the Standard report setting.
Print Report Settings: Select this check box to print the options, sort criteria, and selection criteria for the selected report setting. This information prints on a separate cover page when the report is printed. Clear this check box if you do not want to print the report settings.
Three Hole Punch: Select this check box to print the report with a larger margin. This allows enough space for you to three-hole punch the report. Clear this check box if you do not want a larger margin for this purpose.
Number of Copies: Select the number of copies to print.
Sort Report By: Select an option for sorting the report.
Keep Window Open After Print: Select this check box to keep this window open after you print. Clear this check box if you want this window to close automatically after you print.
Keep Window Open After Preview: Select this check box to keep this window open after you preview the report or form. Clear this check box if you want this window to close automatically after you preview the report or form.
Also Read :
1) Sage 100 Accounts Receivables (A/R) Aging Report
2) Sage 100 Open sales order report – by Item
3) Sage 100 Open Sales Order Report
4) Sage 100 Business Insights Explorer